iDefigo Best practice guide Follow

Best practice guide for Installation engineers working on behalf of IDefigo
Introduction
- Arriving on site and identifying yourself to the client
- Define the process and work to be carried out with the client
Work preparation
- Hardware check pre-installation
- Tools and working at heights equipment check
- Using appropriate fixings for installation
H&S guidelines for working on site
- On site installation engineer protection
- Medical/ First aid intervention
- Emergency contact information
- Relevant PPE for use on site
- Relevant qualifications to work on site
Post installation procedures
- Client satisfaction
- Deployment plan sign off
- Install photos
- Final site check before leaving
This guide is intended to support the installation engineer/s carrying out work for and on behalf of:
iDefigo LTD.
Before arriving on site, the engineers will have been given the deployment plan for the installation and contact details for the client should the client wish to be present during the installation. This is not always the case so the engineer/s will have been advised accordingly before arrival
Introduction
- On arrival please make yourself known to the client and go through any initial questions/ concerns they may have about the equipment/ installation
Common questions are:
- What do you use as fixings/ fittings?
- How high will the devices be?
- Are there any anti-intrusion/vandalism measures to be used? (Client would have pre-authorised and paid for) for example: spike collars, anti-theft paint, Forensic smart water etc
If the above have not been purchased, please advise client accordingly as to the benefits of increasing security for the equipment
- Go through the deployment plan with the client and confirm that everything is as it should be regarding:
- Specific site for each device
- Field of view
- Target area to be monitored
- Any configurations that the client has stipulated (Schedules, time lapse, image sequence etc)
- On-going battery changing should the devices be on internal battery power
Should there be any questions that cannot be immediately answered, or you have concerns about the installation please contact iDefigo using one of the contact numbers listed at the bottom of this document. (This may occur if for instance, the client has decided that they want to locate the devices in areas not agreed with on the deployment plan)
Work preparation
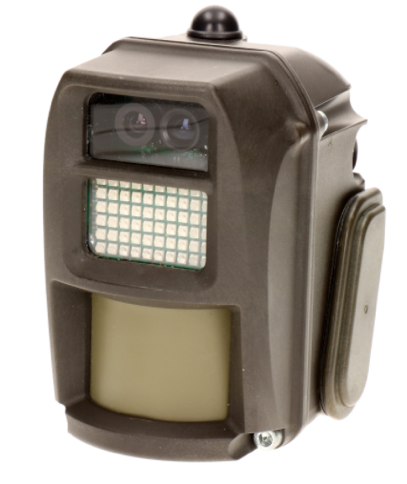
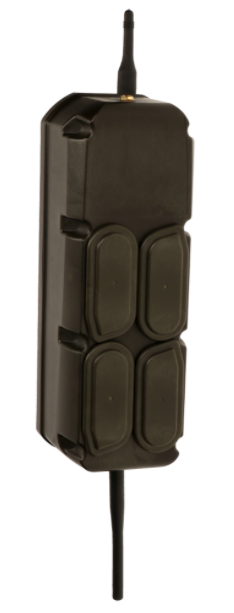
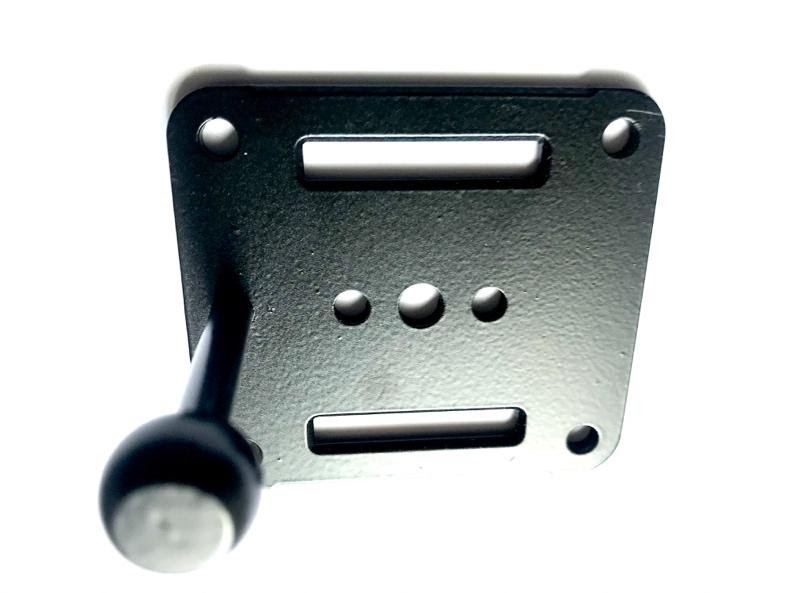
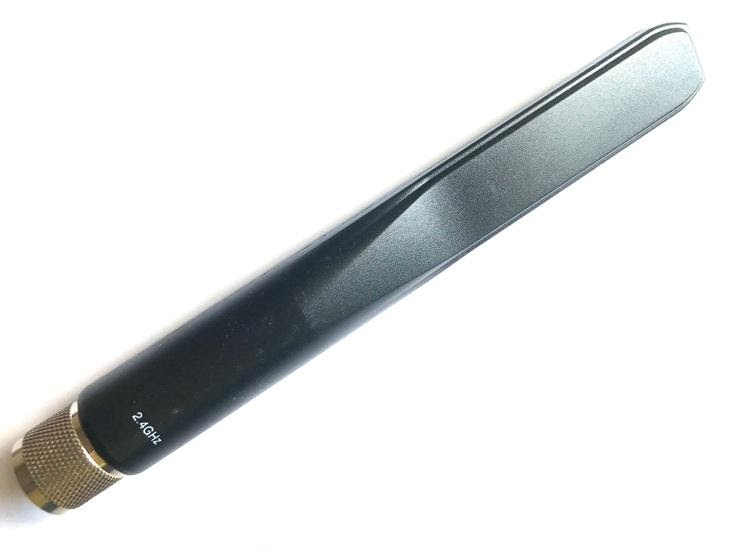
- Check all hardware to make sure you have the correct number of each of the following in line with the deployment plan:
iDCam pro
|
|
|
|
|
|
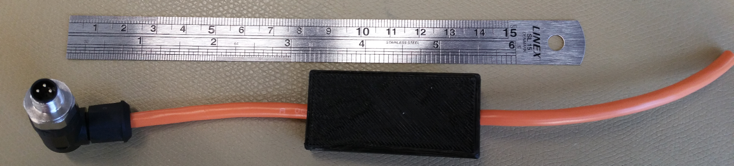
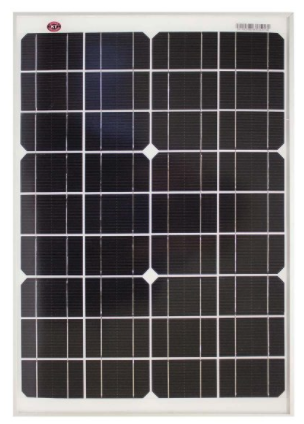
- Solar panel bracket
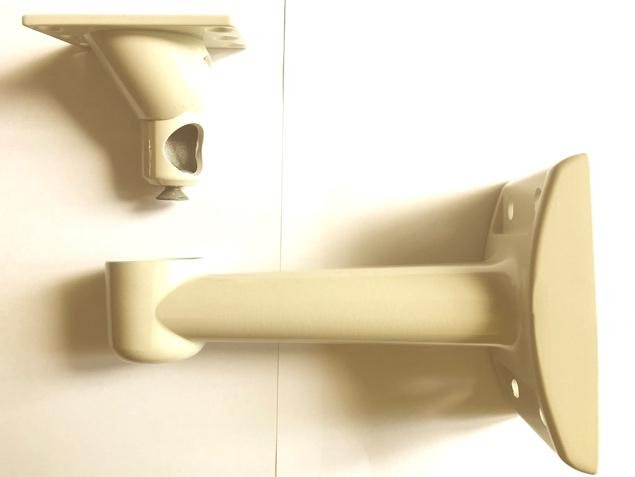
4-5. Before starting the install make sure you have all relevant tools, fixings and equipment for the
Installation, this will consist of:
- SDS cordless drill for various tasks – installing devices into brick, wood, concrete etc
- Assortment of drill bits
- Size 8 Hex key
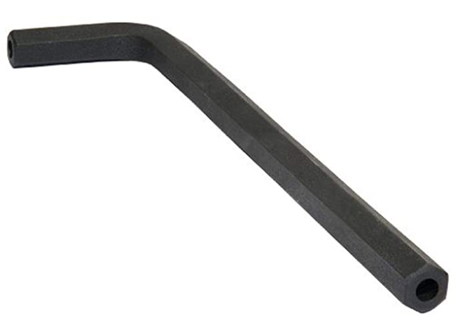
This is used to secure the mounting brackets to the back of the devices
*A note on working at heights and lone worker arrangements
All relevant guidelines must be followed when working on site alone. These are:
- Ladders must be secured at the top with appropriate ties to the object they are being used on. For example, a lighting column or mast
- Ensure that the surrounding area of the ladder and mast are securely guarded from the public
- Ensure that the ladder footings are on solid non-slippery ground
- Before ascending make sure all tools/ equipment are secure to avoid injury from accidental falls
- Ensure you have first aid and emergency contact numbers to hand – iDefigo Operations support
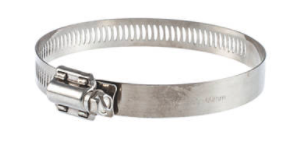
- 70-120mm Stainless steel worm drive hose clips
(These can be daisy chained together to create a larger circumference)
Ideally two straps for each device, so if you need to daisy chain them together that would mean 4 in total.
These are the primary fixings for all devices being installed on public right of ways, roads, laybys, fields etc. For installations on private gated or secure areas you can use 450 X 10mm black cable ties where permissible
*A note on working at heights and lone worker arrangements
All relevant guidelines must be followed when working on site alone. These are:
- Ladders must be secured at the top with appropriate ties to the object they are being used on. For example a lighting column or mast
- Ensure that the surrounding area of the ladder and mast are securely guarded from the public
- Ensure that the ladder footings are on solid non-slippery ground
- Before ascending make sure all tools/ equipment are secure to avoid injury from accidental falls
H&S guidelines for working on site
- The onsite protection for the engineer/s consists of details mentioned above but also extends to:
- Onsite security – this is determined by the nature of the install and location. For example if the installation is taking place in a high crime hotspot then ideally the client will have arranged added security for the engineers, Police, PSCO’s or council enforcement officers
- Pre-notification from the engineer to iDefigo support prior to the commencement of climbing a ladder particularly when working alone and conversely when you have returned to ground level
- Above 4 meters and where the client would like the installation at a height above this please be advised that a cherry picker should and would have been arranged prior to the day of the install. If this is not the case under no circumstances should you go ahead with the installation unless you are qualified to do so with harnesses and platforms that are available to use
- To ensure that someone can get to you in an emergency or call for relevant help on your behalf please ensure that iDefigo have the most recent and up to date location details when on site. This is particularly important if it’s a multiple site install or the client wants devices installed in area that was not previously highlighted as part of the deployment plan
- For all minor incidents please make sure you have a fully stocked first aid kit to hand
- Make sure you have food and water with you
- Contact details will have been passed between the client, iDefigo and the engineer so in case of emergency/ support please contact iDefigo in the first instance on the numbers listed at the bottom of this document
- Public protection equipment is to be used in most scenarios whether it’s 3 point or 5 point
- 3 point consists of hard hat, high visibility vest and safety boots/ riggers
- 5 point consists of hard hat, goggles, gloves, high visibility vest and safety boots/ riggers
Instructions are to be taken here from the client
- The following certificates are required to work on any installation on behalf of iDefigo at a height of no greater than 4 meters
- First aid at work
- Working at heights
Working at heights of greater than 4 meters and you will also need:
- Platform and harness certification
Although not essential the below are also recommended
- Health and safety at work certificate
- PPE awareness training (depending on levels of protection used on a regular basis)
Post installation procedures
- Following a successful installation, open the relevant site on the user interface and show the images coming through from the cameras to the client if available making sure that they’re satisfied with the results
Go over any concerns/ questions that they have again reverting to iDefigo support where necessary
Check each camera specifically for any configurations that the client wants for example:
- Schedules, image sequence and time lapse
- Specific alarm tagging integration (Bikes, people, cars for example, these will already y be configured before installation so you will just be checking that’s its triggering correctly)
- Correct line of sight
- Correct field of view and capture area
- When the client is completely satisfied you can then obtain the post installation sign-off, making sure that you are happy with your work and sign/ date the relevant section on the deployment plan.
*If the client is not present, please call iDefigo support so that we can authorise sign-off on the client’s behalf before leaving site
- Please take the following images for addition to the deployment plan/ iDefigo records for future use:
- Two close-up shots (different angles) of each device installed including solar panel where appropriate
Example 1

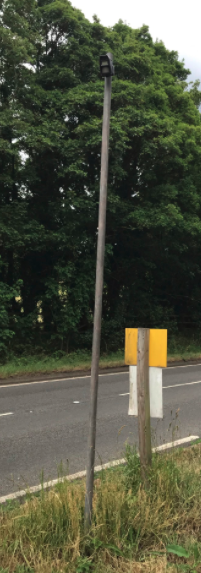
- One middle distance photo ensuring you have all of the equipment in shot including the column/ mast it’s installed on
Example 2.
- Before leaving site please ensure you have checked for:
- Any tools used for the install
- Public safety barriers/ guards
- Packaging/ waste
Please call iDefigo support to let us know you have left site
Contact details for support
iDefigo support for all questions relating to the install/ equipment
- 07717 778220 - Steve Aspin
- 07423 480266 – Rob Harris
Email: support@idefigo.com
Comments
0 comments
Please sign in to leave a comment.