Equipment quick set up guide Follow

Camera Security screw 8mm Hex key Mounting bracket Bridge
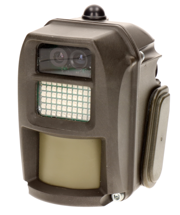
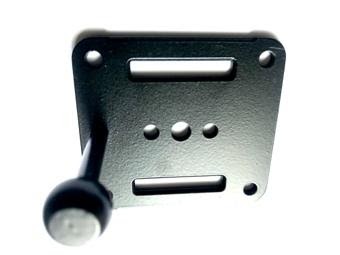
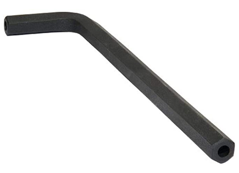
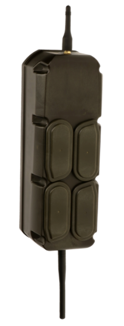
General
1. Remove equipment from each box which will consist of:
- Camera or bridge
- Battery (1 for the camera, 4 for the bridge)
- Mounting bracket
- Grey security screw (to secure battery in place)
Camera
2. Insert battery into camera and secure using the grey security screw
- Make sure the screw is tight so the camera maintains its waterproof rating but do not over tighten
3. Remove mounting bracket from box and locate into the metal socket on the back of the camera
- Unscrew Hex key bolt on the side of the camera
- Locate the mounting bracket into the slot
- Tighten socket but leave a little loose in order to get the correct angle when installed
Bridge
4. Bridge will have been pre-activated and made live with the SIM prior to installation
- Check to make sure the SIM is in place
- Locate all four batteries and secure with grey security screws
- Attach antenna making sure not to cross thread the screw mount
User interface (Platform)
5. Log in to the UI with the credentials previously sent through to you (Username and password)
- Platform URL is smart.idefigo.com
- Enter username and password
You will then have access to the images coming through for all cameras specific for your installation, which will allow you to install them with the correct field of view and capture area for monitoring purposes
When you have installed each device and are happy with the image, please call iDefigo support to check that the image capture grid is correct, and finally use the hex key to tighten the socket at the back of the device to secure it in place
After all devices are secure, check images on platform for final verification before leaving site
For all support please contact. 0118 902 6462. ukops@idefigo.com support@idefigo.com
Comments
0 comments
Please sign in to leave a comment.